Showing posts with label DIY. Show all posts

Friday, January 10, 2014

DIY Fabric Faced Cabinets

So, I have these wonderful cabinets in my kitchen.  I love them.  Seriously. 

 When we bought the house it was very.....1970's.  The cabinets were brown wood.  The wallpaper wasn't vintage, it was just disgusting.  But, since we had just put everything into buying the house we didn't have a whole lot left for a facelift. 


Enter......Creativity.

I started with painting the walls and the cabinets. (I used high gloss enamel but you can use whatever you want.) I put white on the top cabinets and a very deep purple on the lower cabinets.  Why not white on top and bottom?  I have 10 kids.  'Nuff said.

Okay, now that your painting is done....Here's tip #1.  Make sure you paint the entire front of the cabinet.  If you don't, you'll be able to see a dark spot in the middle where you didn't paint.  Clearly, I didn't paint mine and thus, I know the consequence!


So here's what you'll need:
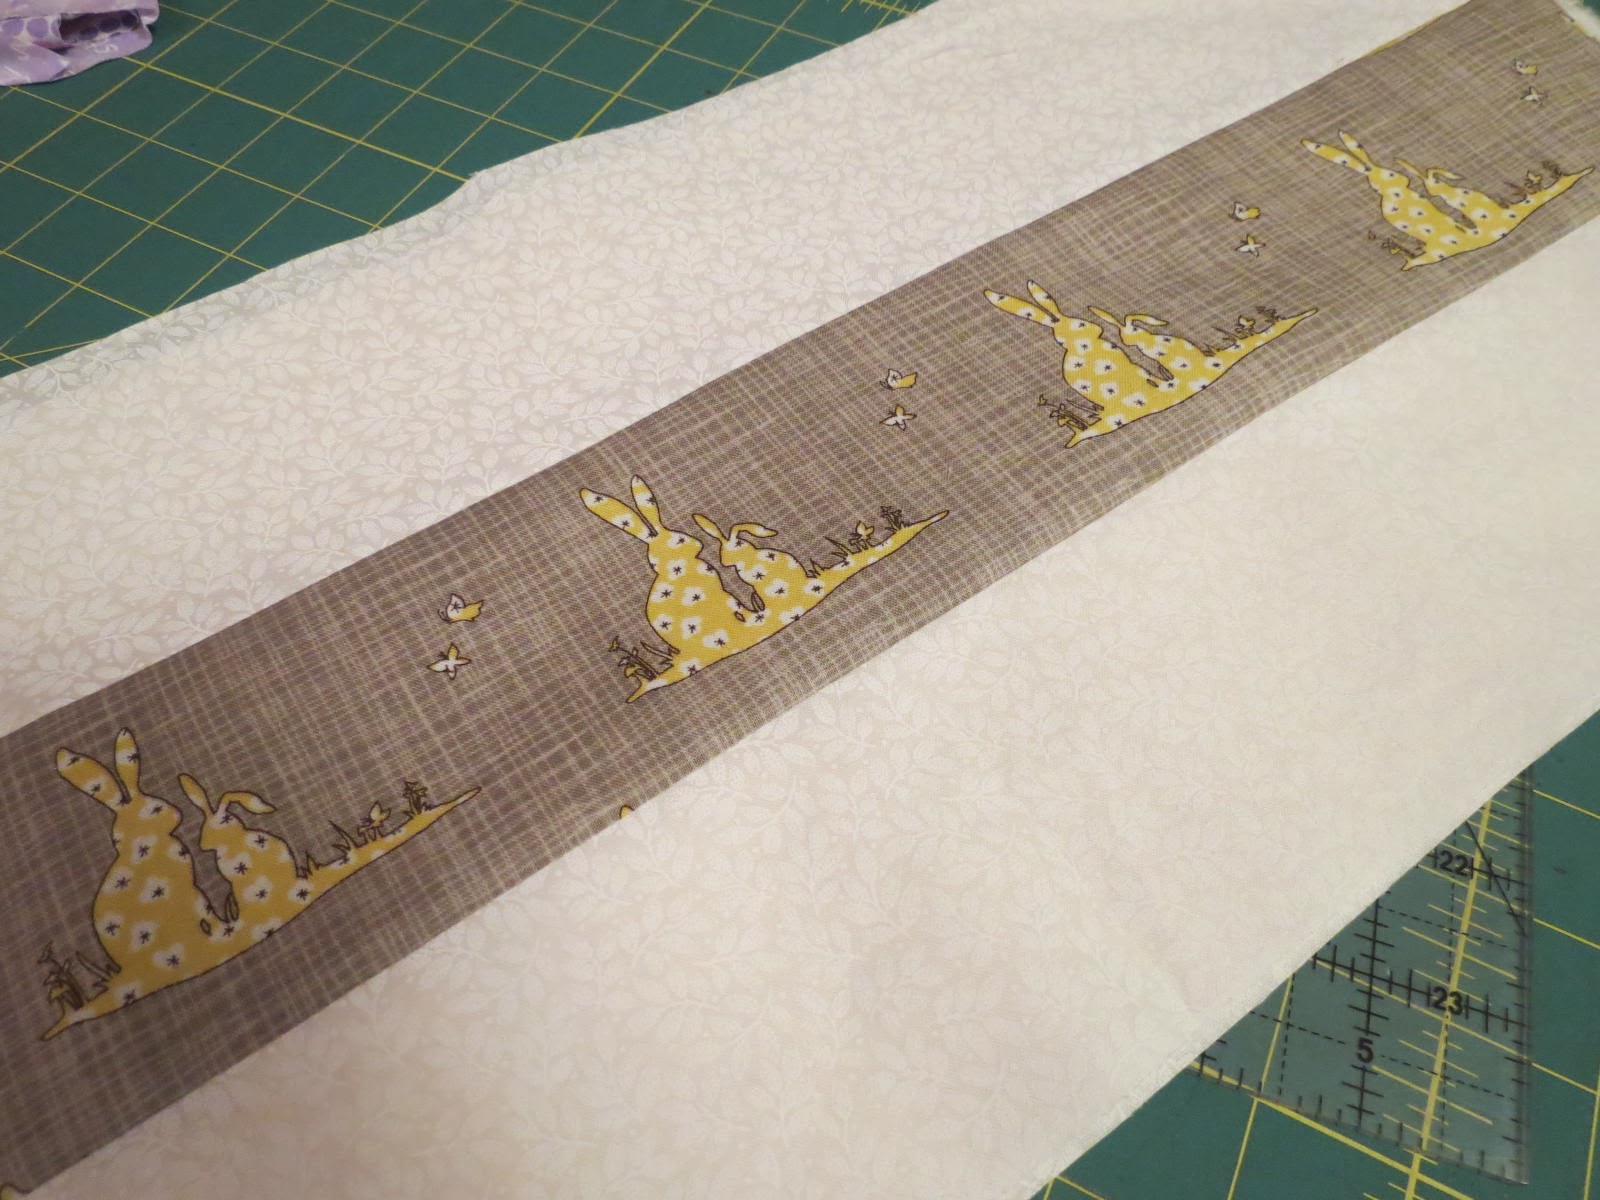
PRE-WASHED fabric.  I cannot stress the pre-washed part enough.
Scissors
Quilt Basting Spray (Sold at Walmart or fabric stores)


Spray a tiny bit of basting spray on the cabinet.  You don't need much.  You're just putting it on there to help the fabric stay up while you make your "template".  Notice in the pictures how it doesn't even go to the edges or anything?


Now, use your fingernail to rub the fabric into the cracks.  Make sure you get a good crease going!


You can see the outline of where you creased the fabric.  Cut it out.


Hold your cut out piece up to the cabinet to make sure it fits.  If you're good with it, spray the BACK SIDE of the fabric with your basting spray.  Go ahead and give it a good covering.  You want this baby to stay put for a while.  Basting spray can get a tad messy so I stuck mine in a cardboard box to keep it from "spreading" outward.


Finally, pick it up and smooth it onto your cabinet and Wala!  A gorgeous, CHEAP kitchen make-over.


Ok, Ok.....I know there's someone out there right this minute going, "But what if it gets dirty?"  This is the best part and also why it was so important to pre-wash that fabric.  Answer:  The fabric peels right off.  Just remove the dirty piece, wash it in the sink, iron, and hang back up.  Mine was up for over a year before I had to do this! (If you didn't pre-wash, your fabric will shrink when you iron it and it won't fit it's spot anymore!)


And one of the best parts?  You can coordinate with other rooms!


Someday, I plan to have "seasonal" panels made.  But, well......Someday.


Tuesday, December 31, 2013

Making a Classic 9 Patch Quilt

Well, Hello there, Friends!  I know, I know.....It's been SO stinking long since I even ventured into blog land.  I'm only venturing now because this is the best way to get patterns to my students for my classes.  So, here's a freebie for anyone out there!

For a 54X63 quilt you will need:
2 3/4 yards of solid (background) fabric
5 coordinating fat quarters ("Chain") (I am using Bluebird Park by Kate and Birdie Paper Co. for Moda)


Start by cutting your fabric into 3.5 inch strips.  You will not be cutting all your solid fabric into 3.5 inch strips so DON'T GET CARRIED AWAY! You will end up with 25 printed strips and
10 solid strips.  Cut the remaining solid fabric into (21) 9.5 inch squares.  Set those aside until the end.


After cutting with your rotary cutter,  cut the folded edge of your solid pieces with scissors to make two strips.

Now start sewing strip sets.  You will make 5 sets of solid, print, solid.  Using a 1/4 inch seam allowance place a solid and a print right side together and stitch.  Attach another solid to the other side of the print the same way.  Aren't those bunnies so super cute?


Now, make 10 sets of print, solid, print using the same method as above just making sure you have a solid in the center.

Iron all 15 strip sets making sure to iron toward the printed OR solid fabric.  It doesn't really matter which but pick one and stick with it.  This will make it easier to get really great points that match up!  A good rule is to iron toward the darker fabric.  In my case, it's the printed fabric.


Now, grab a strip set and square up the end of it.  Don't know what that means?  No worries.  Place your ruler on your strip set as shown in the picture.  It doesn't have to be in any specific place, just in enough that it cuts all the selvedge and jagged ends off.  This part is important:  Because of the sewing and ironing the top and bottom edge of you strip might be "wonky".  You should like up your ruler on one of the seams to make sure you get a straight cut.  Notice the 15" line on the ruler is lined up with the bottom seam on the blue piece?


Now that your strip is square, flip it around and start to cut into 3.5 inch strips.  I measure with my ruler, others measure off the cutting mat.  Whatever works for you.  You will be able to get (5) 3.5 inch strips from each of your larger strips.


Continue cutting until all your original strips are cut into smaller, 3.5 inch strips.


Now is when your quilt starts to take a little shape.  You're going to grab two of your print, solid, print strips and one solid, print, solid strip and sew them together to make your 9 patch block.


If you did a good job keeping track of your ironed seams then when you place your fabrics right side together they will sort of "nestle" into each other and you'll be able to feel that you are keeping your corners together.


Continue sewing until you have made (25) 9.5 inch squares.  You will only be using 21 squares on the front of your quilt.  The extra 4 squares give you the ability to trade out any squares you decide you just don't fit well from a design standpoint.  Extra squares can be pieced onto the back or used in a different project!


Lay out your quilt, mixing and matching until you are happy with your design. If you use your bed as a design station be warned that it could be wrestled on by an adorable 4 yr old and his handsome dad.  Just sayin'.


Begin sewing together one row at a time from left to right.  Once the squares are  pieced with your 9.5 inch solid squares, sew the rows to complete the rest of the piecing.

The quilt shown is not as big as the one the directions are for.  You will have one more row in width.

Happy sewing!